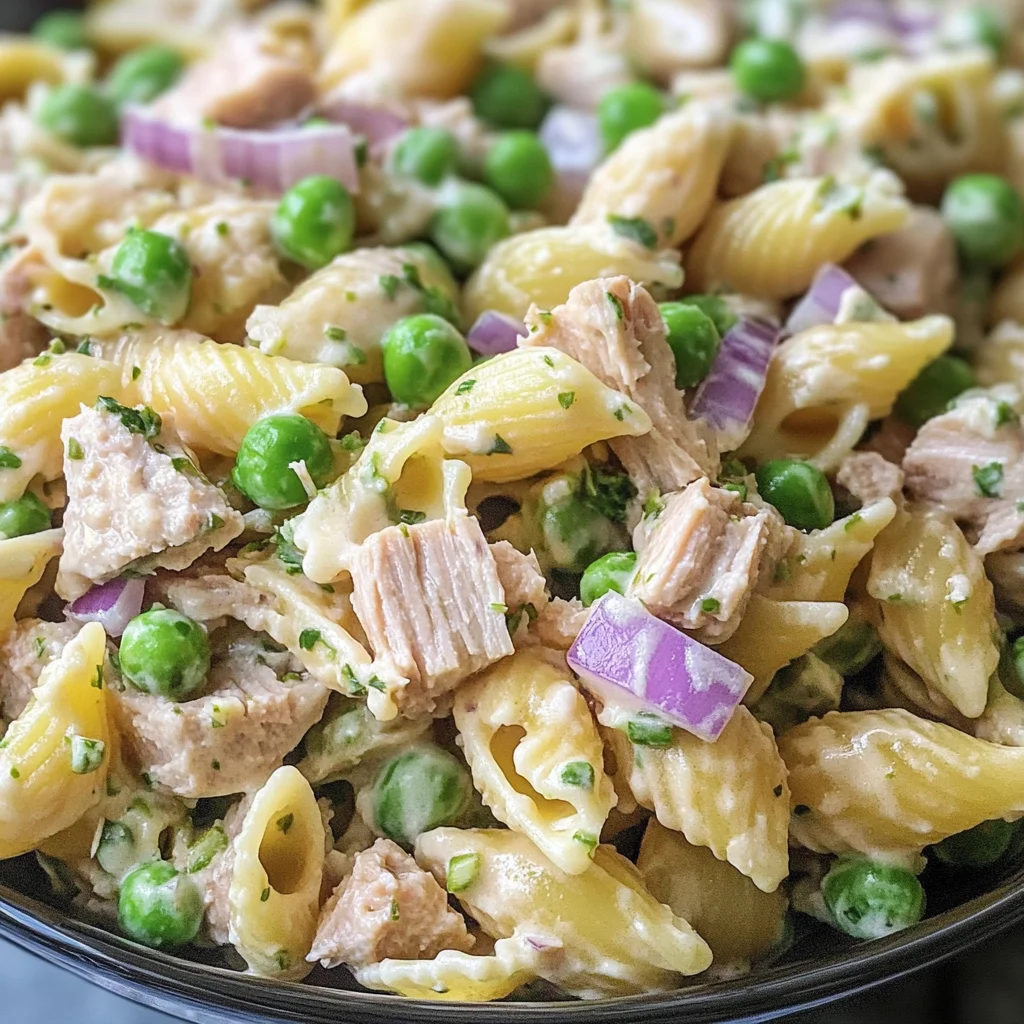
This Tuna Pasta Salad is a delightful dish perfect for picnics, potlucks, or casual family dinners. With its refreshing flavors and satisfying ingredients, it’s sure to be a crowd-pleaser. This recipe combines tender pasta with nutritious veggies and protein-rich tuna, making it not only tasty but also filling. Whether you serve it as a side or a main dish, this salad is versatile enough for any occasion.
Why You’ll Love This Recipe
Quick and Easy: This Tuna Pasta Salad comes together in just 20 minutes, making it ideal for busy weeknights or last-minute gatherings.
Flavorful Ingredients: The combination of fresh dill, lemon juice, and creamy dressing adds a burst of flavor that everyone will enjoy.
Versatile Dish: Perfect as a side or a main course, this salad can easily be customized with your favorite ingredients.
Nutritious Option: Packed with protein and fiber from the tuna and peas, this salad is both satisfying and healthy.
Make-Ahead Friendly: This dish can be prepared in advance, allowing the flavors to meld together for an even tastier experience.
Tools and Preparation
Having the right tools makes preparing your Tuna Pasta Salad easier and more efficient. Here are some essential tools you’ll need:
Essential Tools and Equipment
Large pot
Colander
Mixing bowl
Whisk
Importance of Each Tool
Large pot: Essential for cooking the pasta evenly without overcrowding.
Colander: Helps drain the pasta thoroughly while preventing overcooking during rinsing.
Mixing bowl: Provides ample space to combine all ingredients without spills.
Whisk: Ideal for achieving a smooth dressing by blending mayonnaise, yogurt, and seasonings.
Ingredients
For the Pasta Salad Base
1 pound medium shells (cooked, drained, and rinsed with cold water)
12 ounces tuna (drained; please note this is the dry weight listed on the can)
1 cup frozen peas
2 stalks celery (diced)
1/2 small red onion (diced)
For the Dressing
1 cup light mayonnaise
1/4 cup plain yogurt
1 teaspoon lemon juice
1 tablespoon fresh dill (or 1 teaspoon dry dill)
1 teaspoon salt
1/4 teaspoon black pepper
How to Make Tuna Pasta Salad
Step 1: Cook the Pasta
Cook the shells according to package instructions. Make sure not to overcook them. Once done, drain and rinse them under cold water to stop the cooking process.
Step 2: Prepare the Dressing
In a small bowl, whisk together the light mayonnaise, plain yogurt, lemon juice, fresh dill, salt, and black pepper until well combined.
Step 3: Combine Ingredients
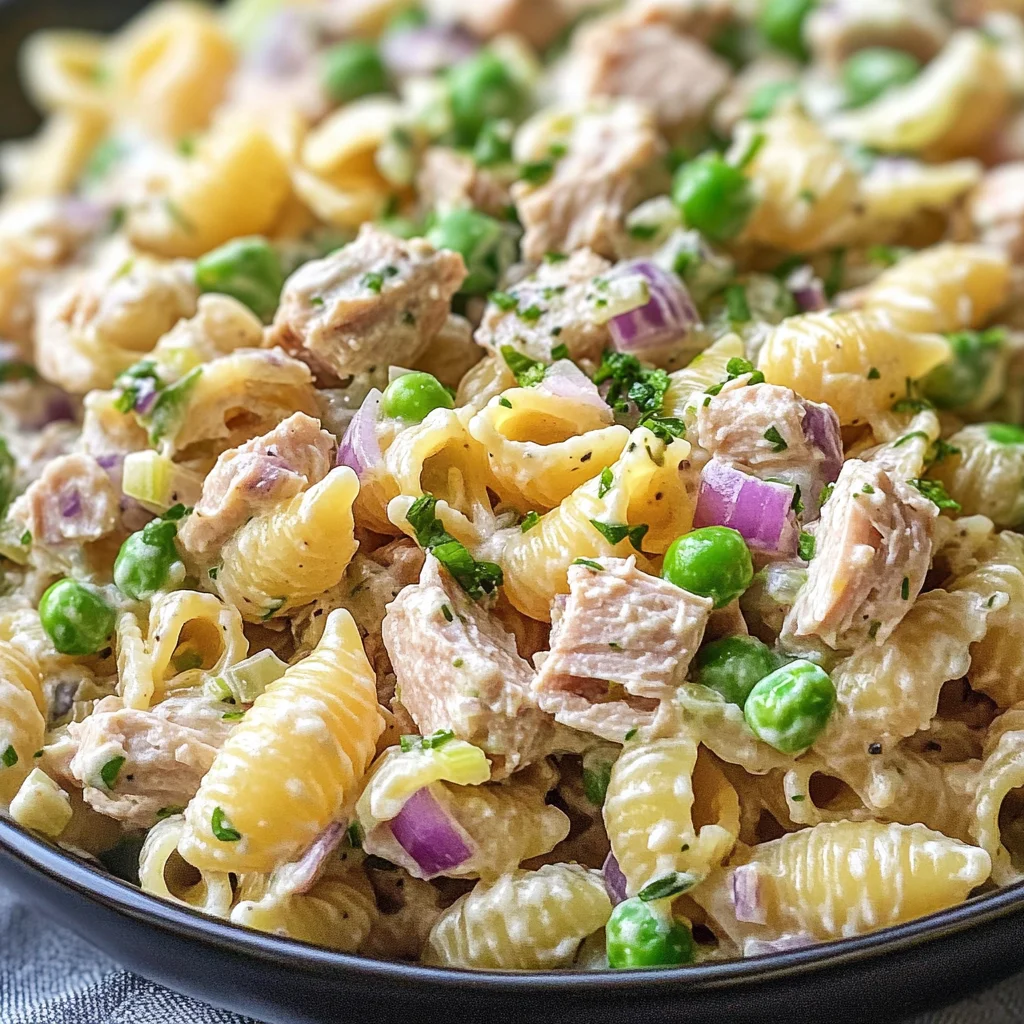
In a large mixing bowl, add the cooked pasta shells, drained tuna, frozen peas, diced celery, and red onion. Pour the dressing over the mixture and toss everything together until evenly coated.
Enjoy your delicious Tuna Pasta Salad as a refreshing addition to any meal!
How to Serve Tuna Pasta Salad
Serving Tuna Pasta Salad is a breeze, making it an ideal dish for gatherings. This salad is versatile and can be enjoyed in various ways that enhance its delicious flavors.
As a Standalone Dish
Serve chilled on its own as a refreshing meal during hot days.
In Lettuce Wraps
Spoon some Tuna Pasta Salad into crisp lettuce leaves for a light, low-carb option.
With Crackers
Pair with whole grain or gluten-free crackers for a crunchy appetizer or snack.
Over Greens
Place the salad over a bed of mixed greens to create a hearty salad.
With Fresh Bread
Serve alongside crusty bread or rolls for an easy and satisfying meal.
How to Perfect Tuna Pasta Salad
Creating the best Tuna Pasta Salad involves simple tweaks. Here are some tips to elevate your dish.
Use Fresh Ingredients: Incorporate fresh vegetables like bell peppers or cucumbers for added crunch and flavor.
Adjust the Creaminess: Customize the balance of mayonnaise and yogurt to suit your taste preferences.
Add Flavorful Herbs: Experiment with other herbs like parsley or basil to give your salad a unique twist.
Chill Before Serving: Allow the salad to chill in the refrigerator for at least 30 minutes before serving for enhanced flavors.
Incorporate Extra Protein: Consider adding chickpeas or shredded chicken for an extra protein boost.
Best Side Dishes for Tuna Pasta Salad
Complementing your Tuna Pasta Salad with the right side dishes can elevate your meal. Here are some great options to consider.
Garlic Bread: A warm, buttery garlic bread adds a delightful crunch and flavor contrast.
Coleslaw: A tangy coleslaw pairs well with the creamy pasta salad, providing extra texture.
Fruit Salad: A light fruit salad serves as a refreshing counterpoint to the savory flavors of the tuna.
Vegetable Platter: Fresh veggies with hummus offer a healthy and crunchy side that balances the dish perfectly.
Quinoa Salad: A zesty quinoa salad brings additional nutrients and complements the flavors of the pasta salad.
Potato Chips: Crispy potato chips add an unexpected crunch that kids and adults alike will enjoy.
Common Mistakes to Avoid
When making Tuna Pasta Salad, it’s easy to overlook simple details that can affect the flavor and texture. Here are some common mistakes to avoid.
Overcooking the pasta – Cooking the shells for too long can make them mushy. Follow package instructions closely and taste-test for doneness.
Using low-quality tuna – Not all canned tuna is created equal. Opt for high-quality, sustainably sourced tuna for better flavor and texture.
Skipping the chill time – This salad tastes best when chilled. Allow it to sit in the refrigerator for at least 30 minutes before serving to let flavors develop.
Not measuring ingredients – Adding too much or too little of any ingredient can throw off the balance. Use measuring cups and spoons for accuracy.
Ignoring seasoning adjustments – Taste your salad before serving and adjust salt and pepper as needed. Freshly ground black pepper can enhance flavor significantly.
Storage & Reheating Instructions
Refrigerator Storage
Store Tuna Pasta Salad in an airtight container.
It can last in the fridge for up to 3 days.
Freezing Tuna Pasta Salad
Freezing is not recommended due to the texture changes in pasta and mayonnaise when thawed.
If you must freeze, use a freezer-safe container and consume within one month.
Reheating Tuna Pasta Salad
Oven – Preheat to 350°F (175°C) and warm it covered with foil, checking frequently.
Microwave – Heat in short bursts, stirring occasionally until warmed through. Use a microwave-safe dish.
Stovetop – Gently reheat on low heat, stirring continuously to avoid sticking.
Frequently Asked Questions
Here are some common questions about Tuna Pasta Salad that may help you enhance your dish.
Can I make Tuna Pasta Salad without mayonnaise?
Yes, you can substitute mayonnaise with Greek yogurt or additional plain yogurt for a lighter version.
How long does Tuna Pasta Salad last in the fridge?
Tuna Pasta Salad typically lasts up to 3 days when stored properly in an airtight container.
What can I add to my Tuna Pasta Salad?
You can customize by adding ingredients like diced bell peppers, cherry tomatoes, or olives for extra flavor and crunch.
Is Tuna Pasta Salad good for meal prep?
Absolutely! This recipe is great for meal prep as it stores well and makes a quick lunch or snack during the week.
Can I use whole wheat pasta instead of regular pasta?
Yes, whole wheat pasta works well and adds more fiber to your dish while maintaining a similar taste.
Final Thoughts
This Tuna Pasta Salad is not only easy to prepare but also versatile enough for any occasion. You can customize it with vegetables or alternative proteins based on your preferences. Try it at your next picnic or potluck; it’s sure to be a hit!
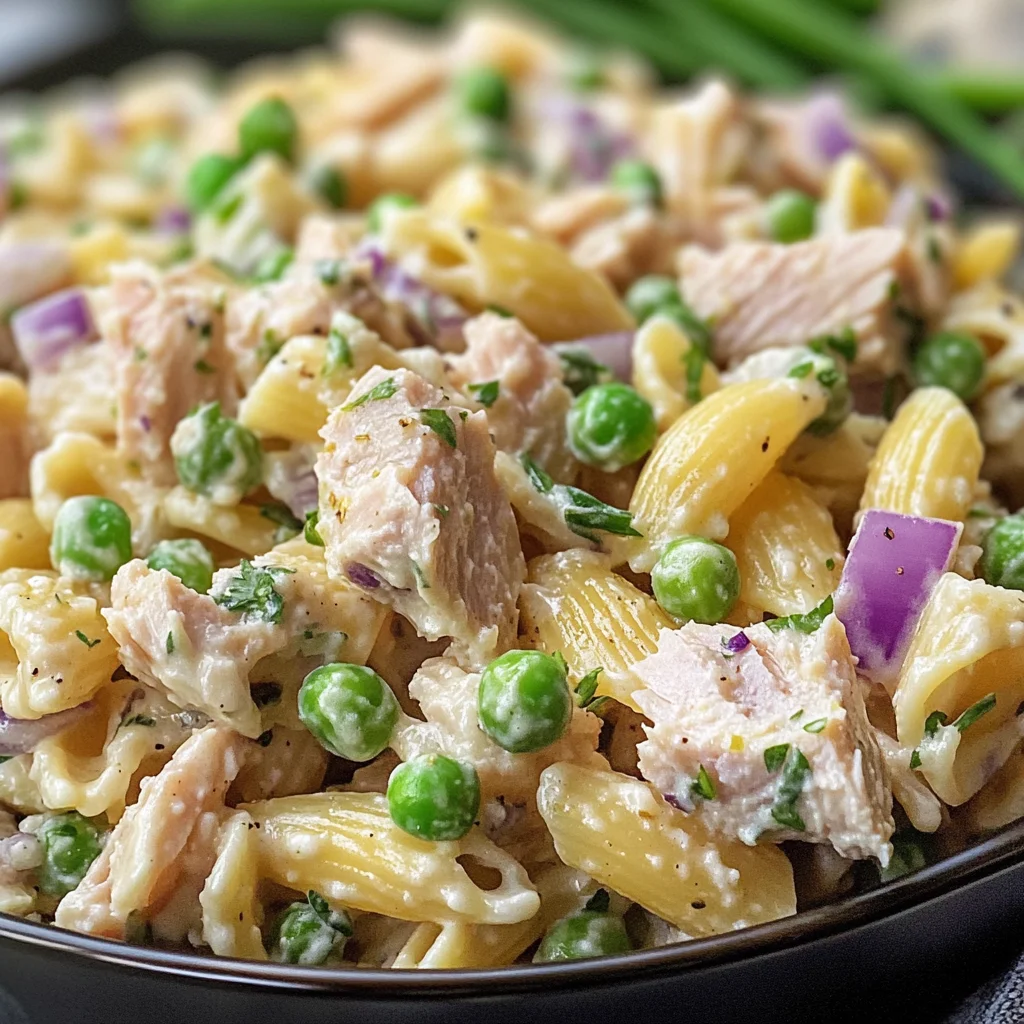
Tuna Pasta Salad is a delightful and refreshing dish that brings together the perfect combination of tender pasta, nutritious vegetables, and protein-rich tuna. Ideal for summer picnics, potlucks, or casual family dinners, this salad is not only quick to prepare but also versatile enough to suit any occasion. With a creamy dressing infused with fresh dill and lemon juice, each bite bursts with flavor. Enjoy it as a main course or as an accompaniment to your favorite grilled meats. This Tuna Pasta Salad is sure to impress everyone at the table!
Ingredients
Scale
1 pound medium shells (cooked, drained)
12 ounces canned tuna (drained)
1 cup frozen peas
2 stalks celery (diced)
1/2 small red onion (diced)
1 cup light mayonnaise
1/4 cup plain yogurt
1 teaspoon lemon juice
1 tablespoon fresh dill
Salt and black pepper to taste
Instructions
Cook the pasta shells according to package instructions until al dente. Drain and rinse under cold water.
In a small bowl, whisk together the light mayonnaise, plain yogurt, lemon juice, dill, salt, and black pepper until smooth.
In a large mixing bowl, combine the cooked pasta shells, drained tuna, frozen peas, diced celery, and red onion. Pour the dressing over the salad and toss gently until all ingredients are well coated.
Prep Time:10 minutes
Cook Time:10 minutes
Category:Salad
Method:Mixing
Cuisine:Mediterranean
Nutrition
Serving Size:1 serving
Calories:320
Sugar:3g
Sodium:480mg
Fat:16g
Saturated Fat:2g
Unsaturated Fat:14g
Trans Fat:0g
Carbohydrates:32g
Fiber:3g
Protein:15g
Cholesterol:35mg
Keywords: Feel free to add extra vegetables like bell peppers or cucumbers for additional crunch. For a lighter version, substitute half of the mayonnaise with Greek yogurt. Chill the salad in the refrigerator for at least 30 minutes before serving for enhanced flavors.